Konsulko Group: The Year in Review 2025
In 2025, as in our previous 13 years in business, Konsulko Group focused on the practical hardware and software engineering that help companies build breakthrough embedded devices. More and more, this has been with a specific emphasis on deploying Edge AI. We worked alongside companies creating real-world products using AI-capable hardware in medical devices, robotics, smart transportation, and industrial automation.
Beyond our core services, we announced a new platform for Edge AI and published technical guides to address common integration challenges. The following highlights cover the technical work and resources we delivered this year to support embedded product development.
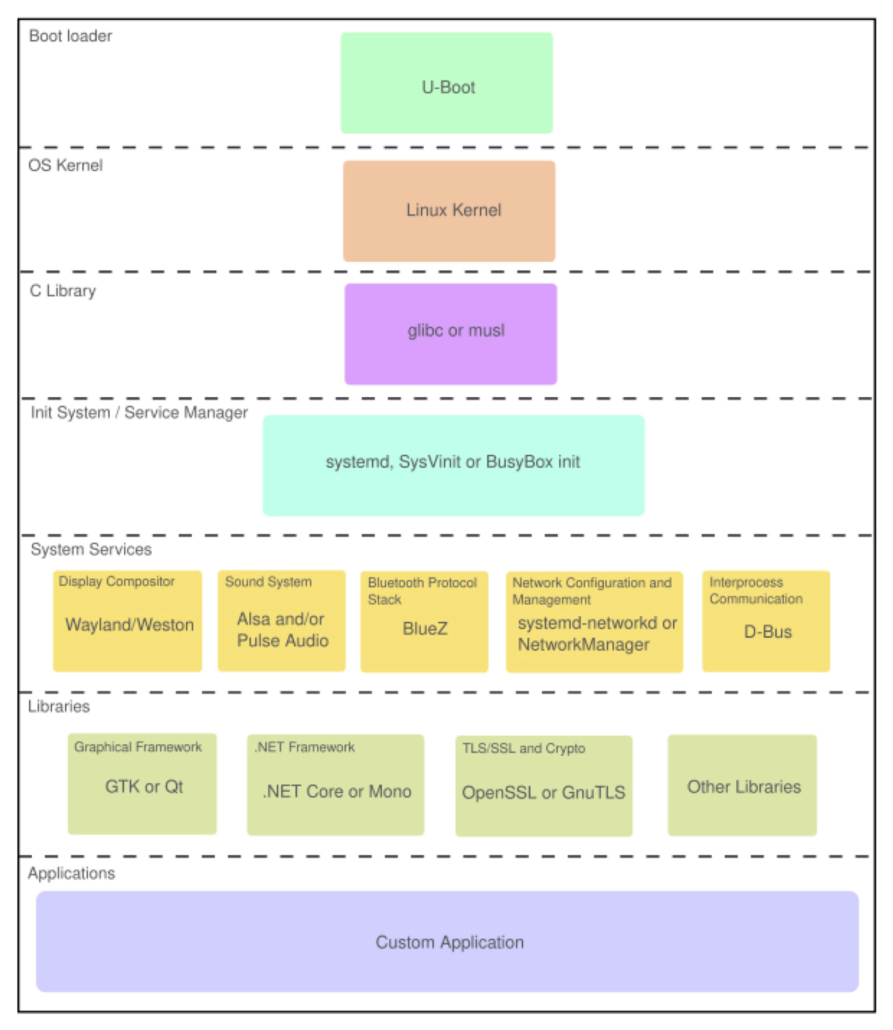
Introducing Konsulko Orca OS for Edge AI
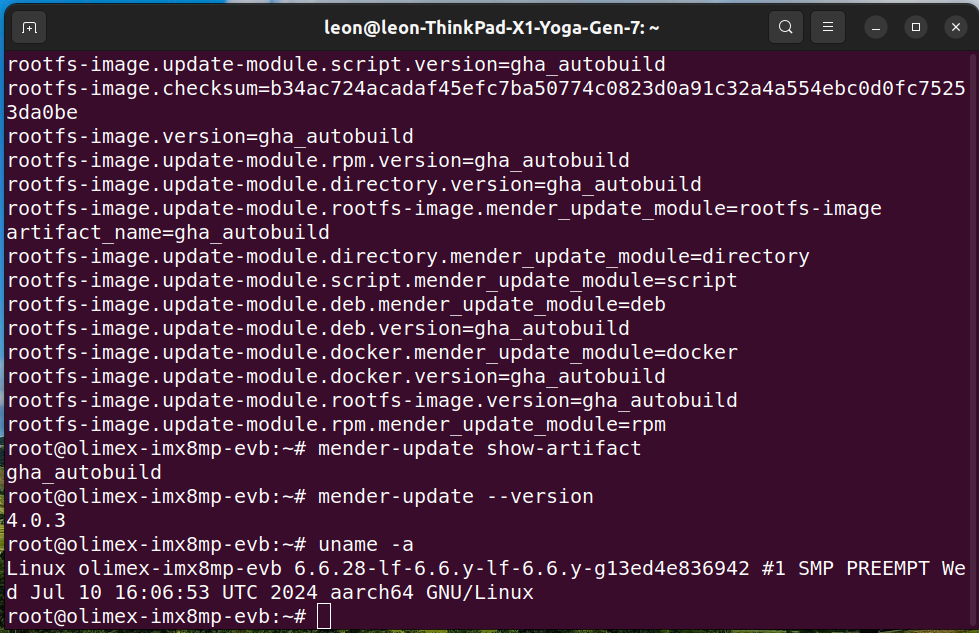
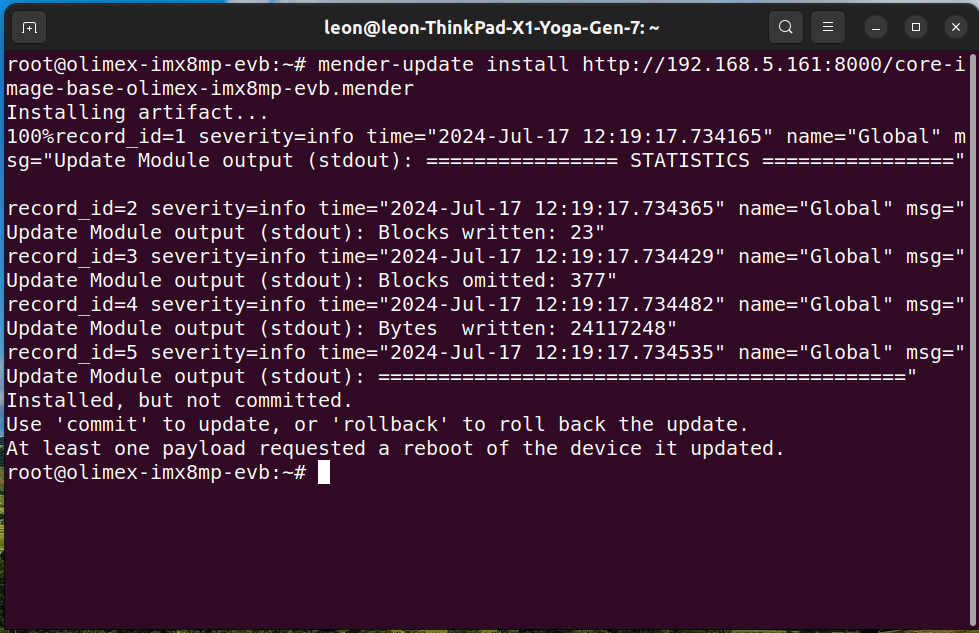
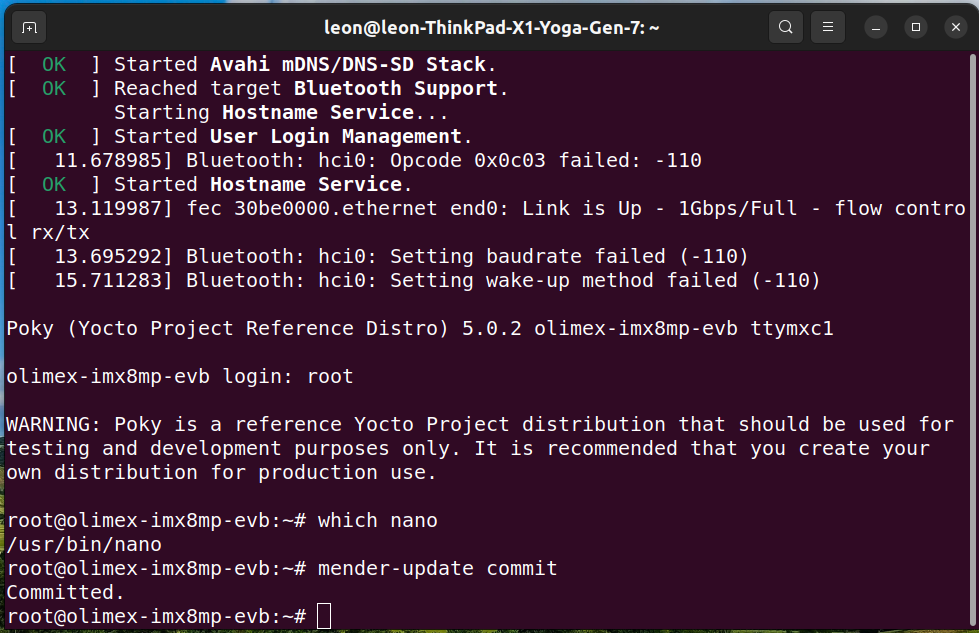
On November 2, we launched Konsulko Orca OS, the production-ready Linux operating system designed for secure, high-performance AI applications on NVIDIA Jetson platforms. Built on the Yocto Project, and delivered as part of Konsulko Group’s software services, Orca OS is engineered from the ground up for deployment in real-world, commercial products, featuring long-term support, secure boot, encrypted storage, hardened production builds, remote diagnostics, reliable over-the-air (OTA) updates and cloud management.
Konsulko also offers end-to-end Jetson development services for the entire NVIDIA Jetson family, including custom hardware designs, board bring-up and application integration with OTA updates.
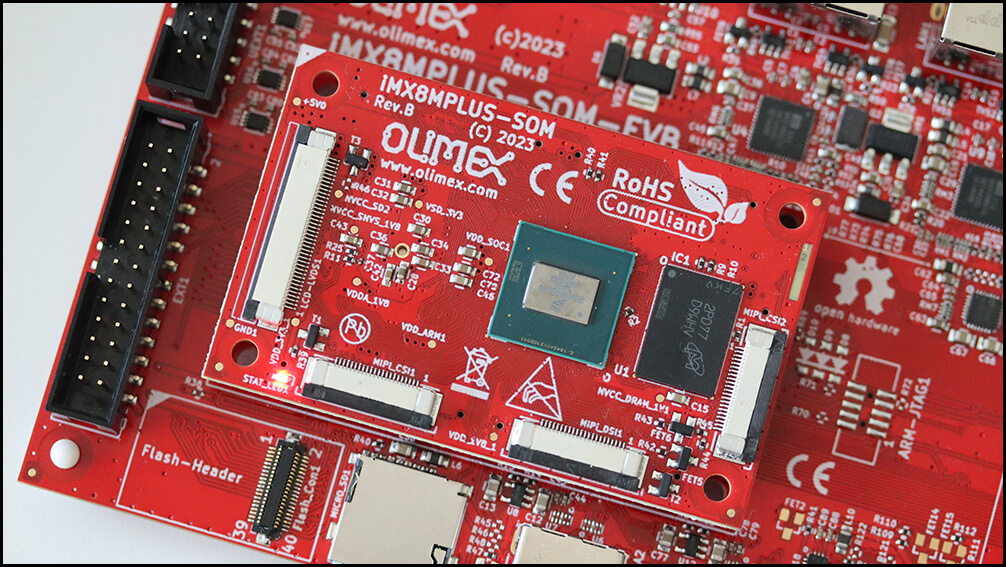
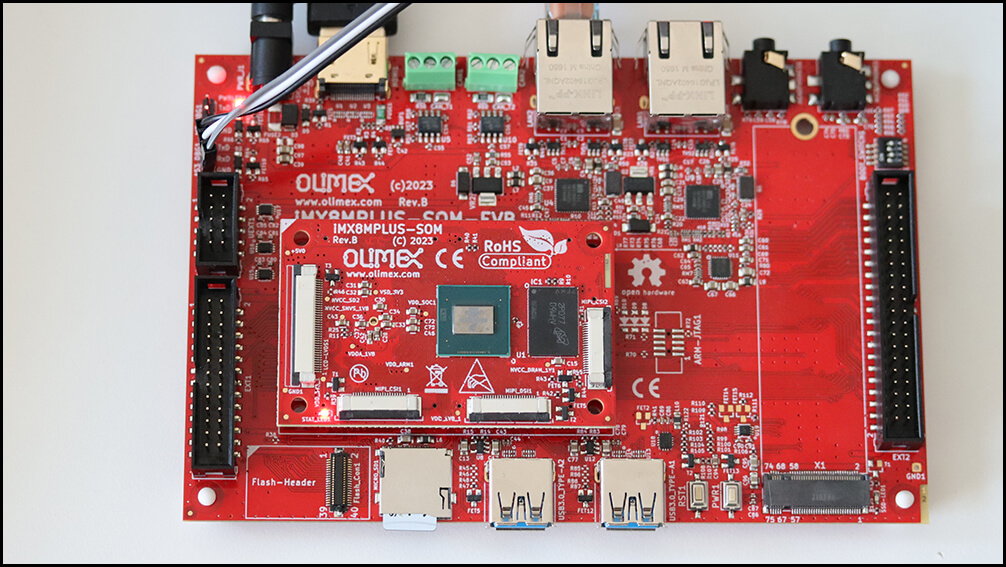
Custom Hardware for Complex Embedded Systems
Konsulko continued to deliver hardware design services ranging from schematic capture and PCB layout to rapid prototyping, custom SOMs and carrier boards, to manufacturing management. Serving the consumer electronics, medical, telecommunications, and industrial sectors, our engineers integrate robust hardware design with secure, production-ready software to accelerate our customers’ deployment of their devices.
Production Engineering for Medical and Utility Robotics
Our services work in 2025 focused heavily on deploying Edge AI in regulated and industrial environments. For example, we provided a production-secure, encrypted OS using Yocto and a mainline Linux kernel to serve as a base for AI applications operating at the edge for smart grid monitoring systems.
Konsulko assisted with two separate medical device projects, both built on the NVIDIA Jetson platform. For both projects, we migrated the underlying OS from NVIDIA L4T to a production-ready Yocto Project distribution. A key requirement was creating and maintaining a custom SDK to enable their developers to build CUDA applications. Additionally, we ensured another medical device running on Yocto remained current by updating it with the latest NVIDIA SDK releases.
Addressing Hardware Security on NVIDIA
Implementing a full Chain of Trust on high-performance SoCs remains a significant challenge for engineering teams. In July, we published the technical guide, Cybersecurity on NVIDIA: Why Embedded Lags Enterprise Linux.
Embedded Linux systems, even on popular platforms like NVIDIA Jetson, can sometimes lag behind enterprise Linux distributions in terms of cybersecurity practices and promptness of security updates. This guide provides a high-level overview of the methodology and components utilized to secure Jetson hardware on production projects.
The process establishes a hardware-based root of trust, which is then extended to verify the integrity of every subsequent boot stage, all the way to the Linux userspace. Furthermore, the solution incorporates encryption-at-rest to protect sensitive intellectual property in deployed systems.
Standardizing Hardware-in-the-Loop Testing (Labgrid)
At Open Source Summit Europe in August, Konsulko Principal Software Engineer Tim Orling (with Trevor Gamblin of Bay Libre) presented Powering Up: Lab Automation With Labgrid and CI. This highlighted a standardized testing infrastructure we can use for customer projects.
We can utilize Labgrid (a Python library for embedded control) to integrate physical boards into the Continuous Integration pipeline. Instead of relying on QEMU or manual QA, we automate power cycling, serial console interaction, and GPIO manipulation on actual hardware to catch regressions in the boot process or hardware interaction layers before code reaches the client.
We have also leveraged this capability to support the U-Boot community. Specifically, we enabled the community to run their existing test suite automatically in Gitlab CI. This automation covers four distinct hardware platforms and various software configurations.
Executing Windows CE to Linux Migration
As Konsulko Principal Software Engineer George McCollister described in his technical blog post Migrating from Windows CE to Yocto-based Embedded Linux in January, our team managed several legacy migration projects for industrial customers. These projects involved porting application logic from deprecated Windows CE environments to supported Yocto Project-based Linux builds.
We delivered modernized OS images that maintained existing application behavior while moving the underlying system to long-term supported (LTS) kernels, mitigating the security risks associated with end-of-life operating systems.
Explaining “Embedded Systems” to professionals in other fields
Those of us working in this field for 20-30 years (or more) can sometimes forget that the basics — what these systems are and the steps we take every day to make them work — may seems very foreign to folks in corporate management, finance, or students and newcomers to embedded engineering.
To this end, Konsulko Group started a series of informational articles. The first asks the overarching question: What is Embedded Systems Design?
Continuing our Contribution to Open Source communities
Throughout 2025, Konsulko engineers maintained their seats on the OpenEmbedded Board of Directors and the Yocto Project Technical Steering Committee, and played a key role in organizing and presenting at multiple community events. Our engineers continue in the role of project maintainer and make significant contributions to numerous Open Source projects.

We look forward to working with you in 2026 on building your next embedded device. Please contact us anytime to discuss your new or on-going hardware and software requirements.