Software Updates on i.MX8MP, Part 2: Mender & Yocto Project
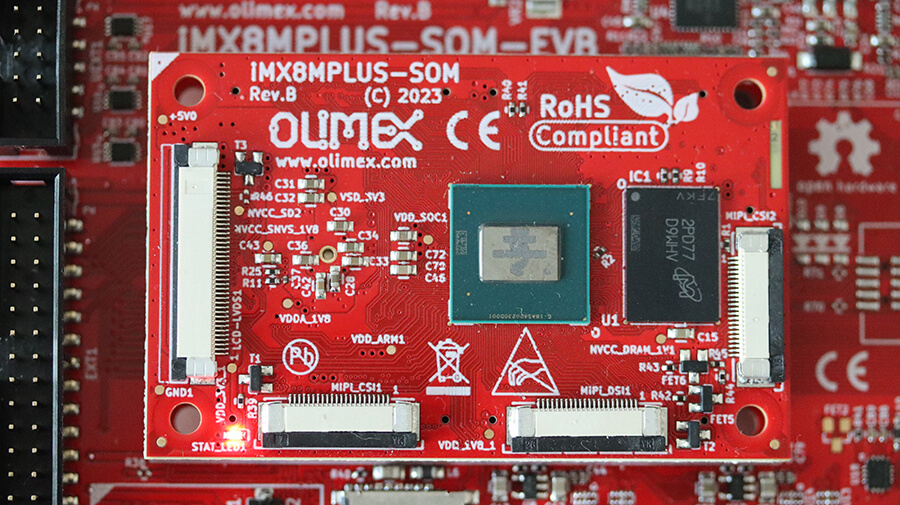
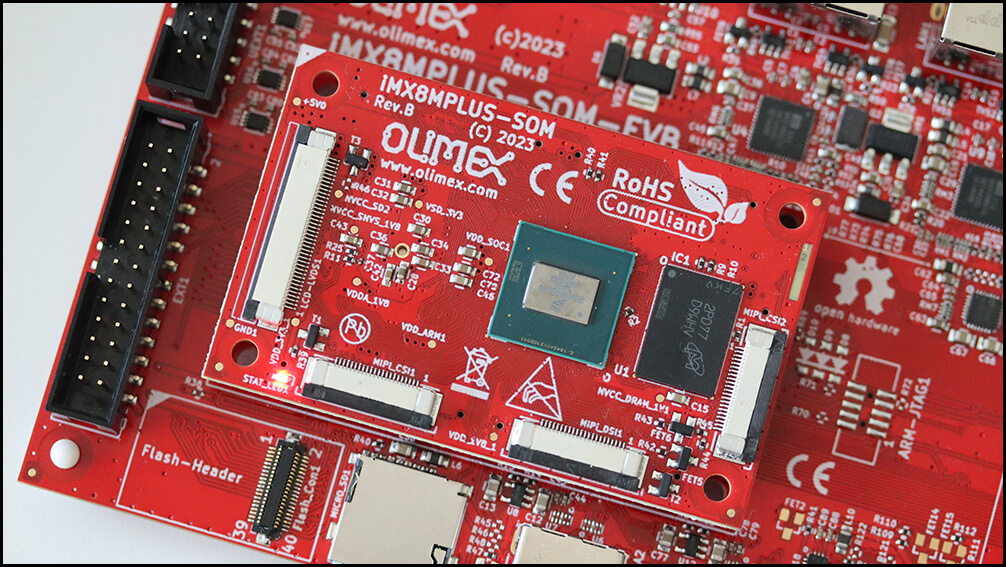
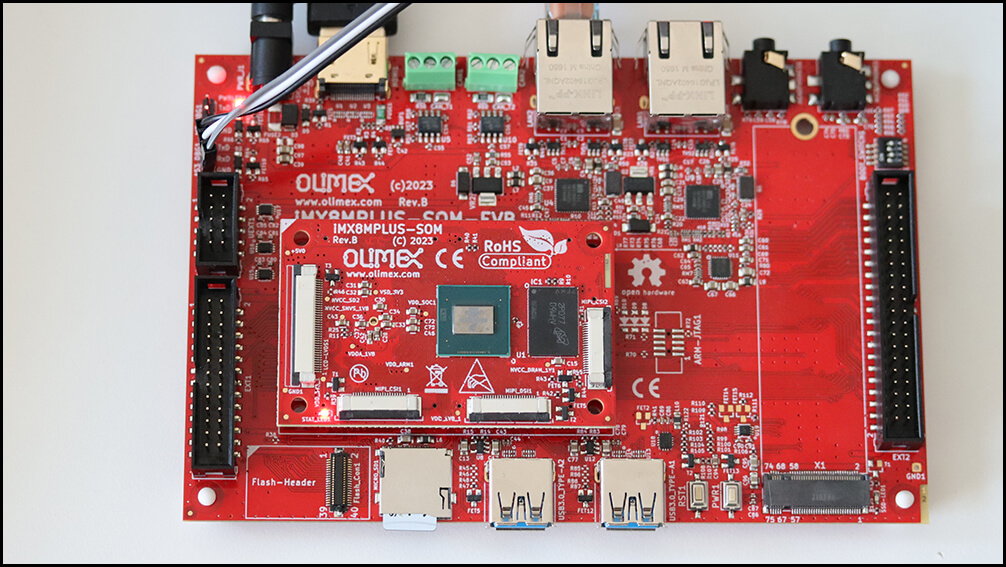
Software over-the-air (OTA) updates are essential for any modern embedded Linux device. In part 1, we explored A/B software updates using RAUC and qbee.io. For our demonstrations, we utilized the new open source hardware Olimex’s iMX8MPlus System on Module (SOM) and Evaluation Board (EVB). The NXP i.MX8MP is a robust microprocessor, ideal for industrial-grade applications and widely adopted across various industries. In part 2, we will use Mender to update the same hardware.
About Mender
Mender.io is an open-source platform designed for managing and deploying over-the-air (OTA) updates to embedded devices. It provides a reliable and secure method to keep devices up-to-date, minimizing downtime and reducing the risks of manual updates. Mender supports an open-source A/B update scheme and offers an optional proprietary implementation for delta updates.
As a turnkey solution, Mender features a web interface for comprehensive device management and is available as a Software-as-a-Service (SaaS) for small and medium businesses, as well as hosted or on-premise solutions for large enterprises. It supports robust update strategies, rollback mechanisms, and add-ons for configuring, monitoring, and troubleshooting devices. Mender is a state-of-the-art solution for maintaining and managing fleets of connected devices across various industries.
Building an Image with Mender
Here are the steps to build core-image-base with Mender for Olimex:
- Install the kas tool (optional: to install it globally for all users, run the installation as root or using sudo):
pip install kas
- Clone meta-mender-community git repository for Yocto LTS release 5.0 (scarthgap):
git clone -b scarthgap https://github.com/mendersoftware/meta-mender-community
- Create a build directory and navigate into it:
mkdir -p meta-mender-community/mender-nxp && cd meta-mender-community/mender-nxp
- Create a kas configuration add-on to enable passwordless root access for development purposes:
cat <<EOF > debug-image.yml
header:
  version: 14

local_conf_header:
  developer-features: |
    EXTRA_IMAGE_FEATURES = "debug-tweaks"
EOF
- Run the following command to start the build process:
kas build ../kas/olimex-imx8mp-evb.yml:debug-image.yml
Initiating the build process from scratch is a bit of a marathon, as kas and bitbake need to download all the source code and execute a plethora of tasks. Feel free to grab a cup of tea (or maybe a whole teapot) while you wait!
Flashing the Mender Image
Using kas and BitBake will result in the production of an image file. After the build process is complete, you will find the generated image at the following relative path: build/tmp/deploy/images/olimex-imx8mp-evb/core-image-base-olimex-imx8mp-evb.sdimg. This path indicates the location within the build directory where the final image is stored, ready for deployment to Olimex iMX8MP-SOM-4GB-IND and iMX8MP-SOM-EVB-IND.
The core-image-base-olimex-imx8mp-evb.sdimg file must be flashed onto a microSD card to be used with your device. This can be accomplished using various applications such as dd or bmaptool for command-line options. If you prefer a user-friendly application with a graphical interface, you can use Balena Etcher, which simplifies the flashing process and provides a straightforward GUI.
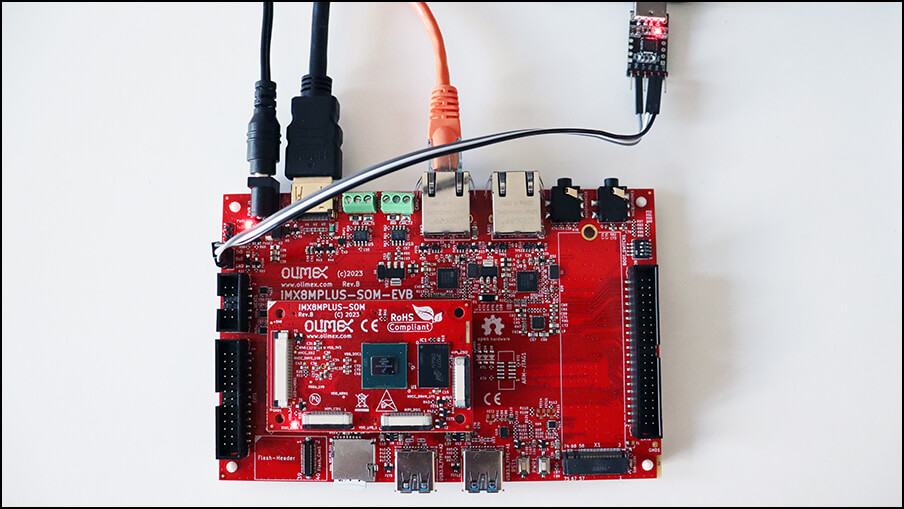
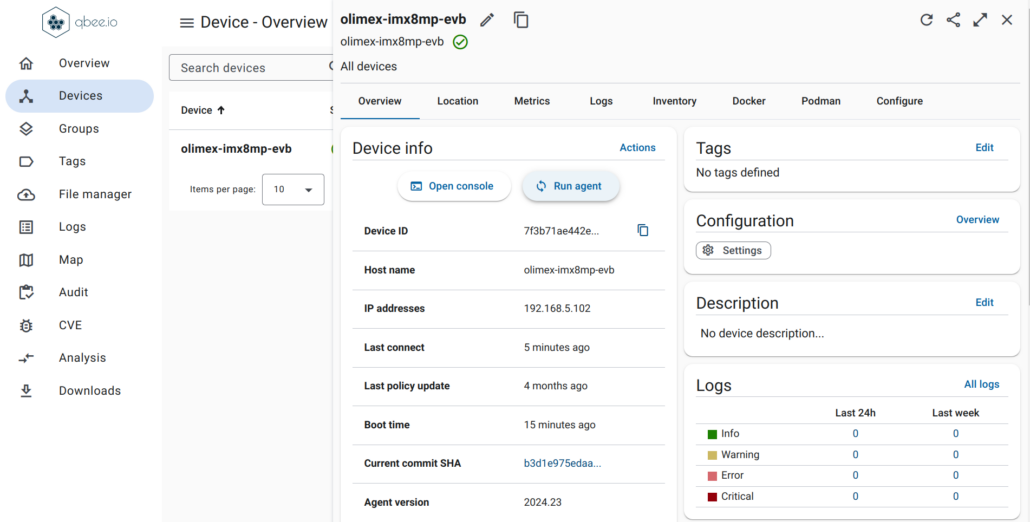
To set up and verify your Olimex iMX8MP-SOM-EVB-IND board, follow these steps:
- Connect the USB-to-UART adapter to the A53_DBG1 connector on the Olimex iMX8MP-SOM-EVB-IND, and insert the Ethernet cable and the microSD card.
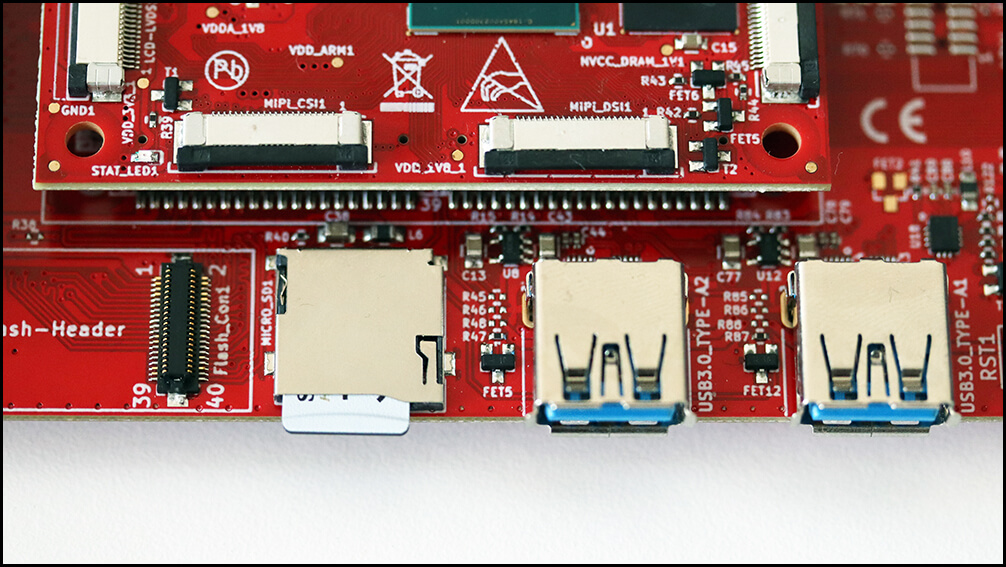
- Plug the 5V power supply into the power jack of the iMX8MP-SOM-EVB-IND to power up the board.
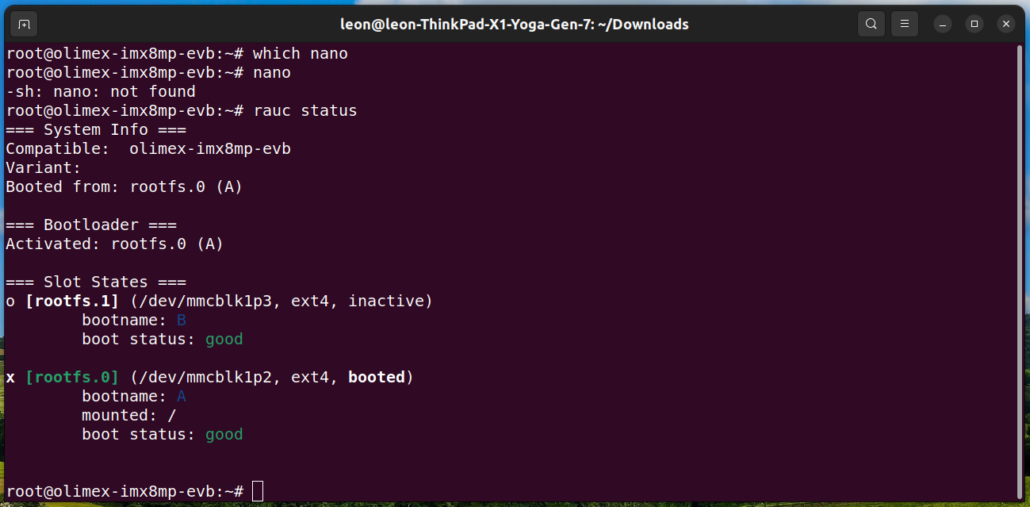
- Ensure the system boots successfully, then log in as the root user (no password required) and check the Mender status by executing the following commands:
mender-update show-provides
mender-update show-artifact
mender-update --version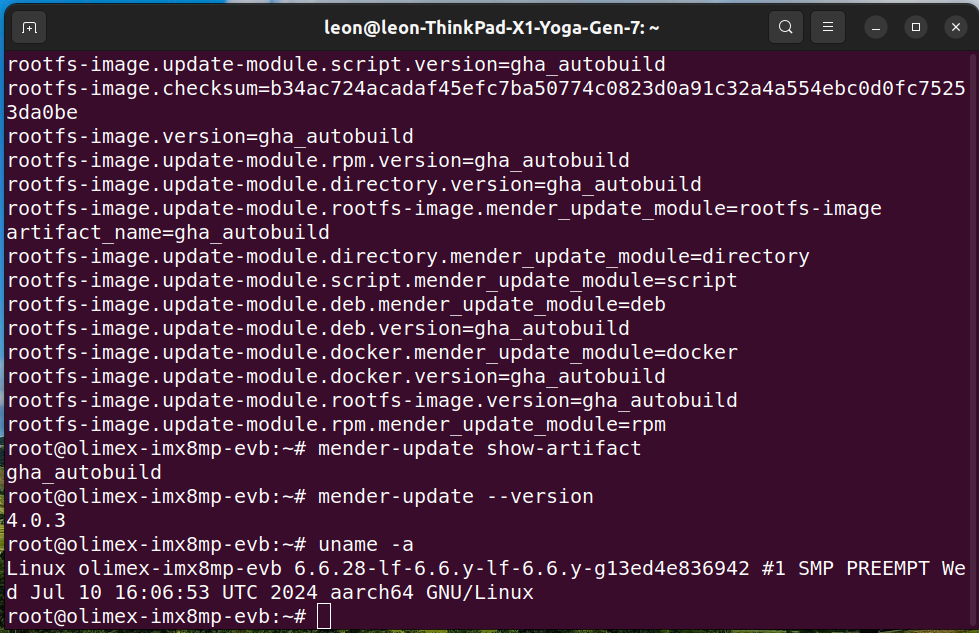
Creating a Mender Artifact
A Mender artifact refers to a package format used by the Mender update manager for over-the-air (OTA) software updates. It contains all the necessary components such as firmware, scripts, configuration files, and metadata required to update a device’s software reliably and securely. The layer meta-mender/meta-mender-core is essential for integrating Mender’s functionality into the Yocto Project and OpenEmbedded build system as it provides required classes and scripts that automate the creation of Mender artifacts as part of the build process.
Follow the steps below to build a Mender Artifact for iMX8MP-SOM-EVB-IND that extends the system with the addition of the simple text editor nano:
- Create a kas configuration add-on to add
nano:
cat <<EOF > update-image.yml
header:
  version: 14

local_conf_header:
  update-image: |
    IMAGE_INSTALL:append = " nano"
EOF
- Build both
core-image-baseand its corresponding Mender Artifact using:
kas build ../kas/olimex-imx8mp-evb.yml:debug-image.yml:update-image.yml
- This process will generate a Mender Artifact containing
nanoat the file pathbuild/tmp/deploy/images/olimex-imx8mp-evb/core-image-base-olimex-imx8mp-evb.mender.
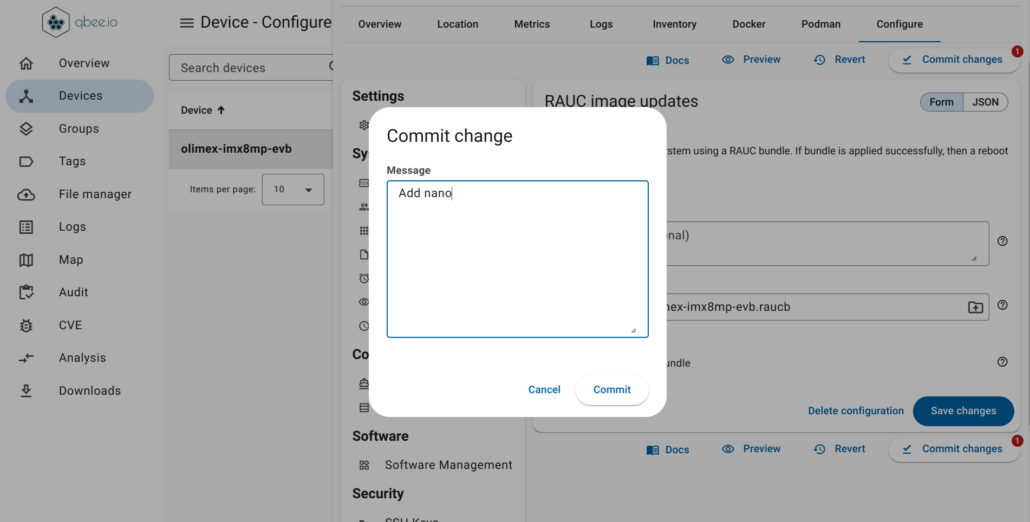
Installing the Mender Artifact
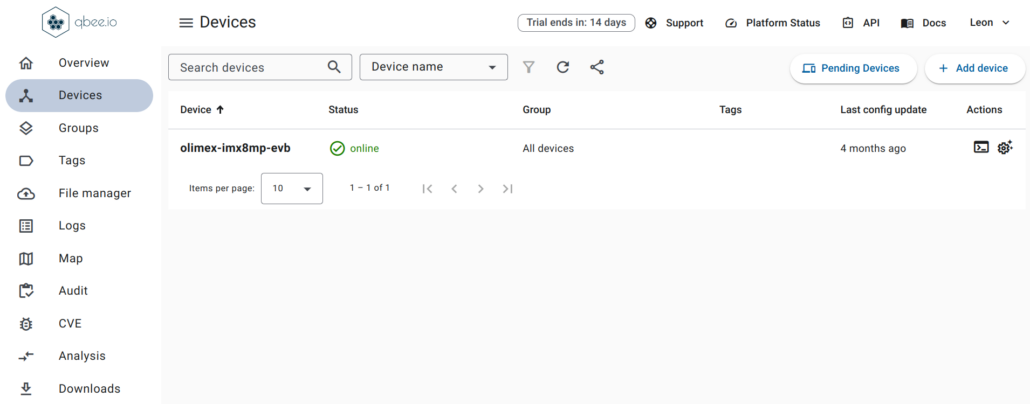
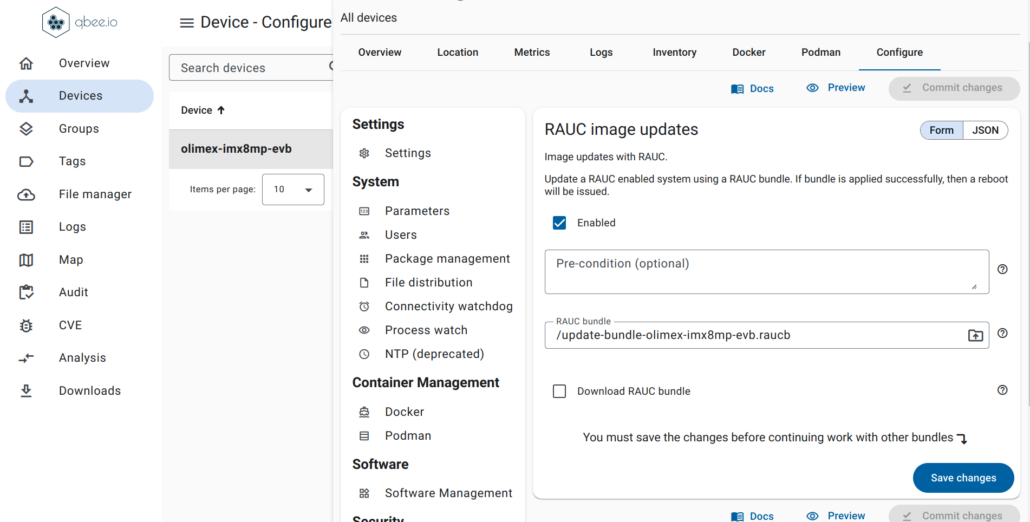
Mender serves as a comprehensive update solution, featuring a central server that acts as a hub for storing and orchestrating software updates across fleets of devices via over-the-air deployment. Using Mender’s intuitive web UI or REST APIs, you can efficiently manage devices, upload software releases, and execute seamless deployments to distribute updates across your devices. Alternatively, Mender can operate in standalone mode, independent of a server.
To perform a manual standalone deployment using Mender in the terminal, follow the steps below. In this setup, no Mender Server is involved, and updates are initiated directly on the device.
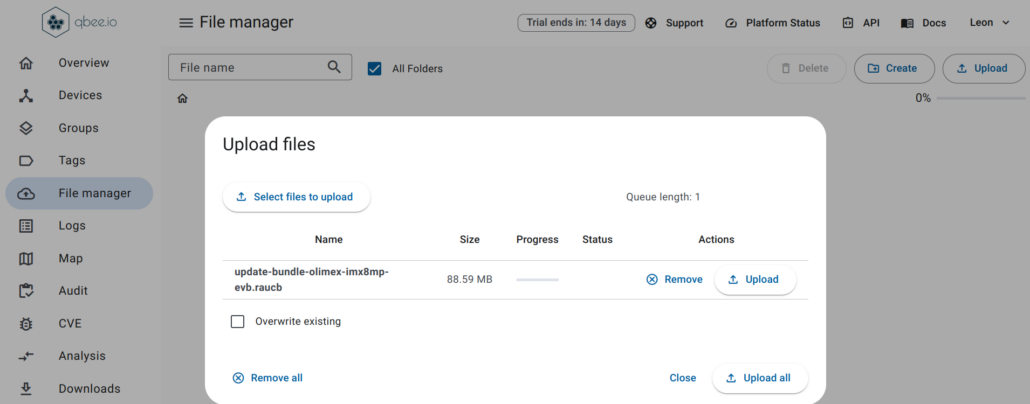
- Start a simple HTTP server in the directory with the Mender Artifact:
python3 -m http.server
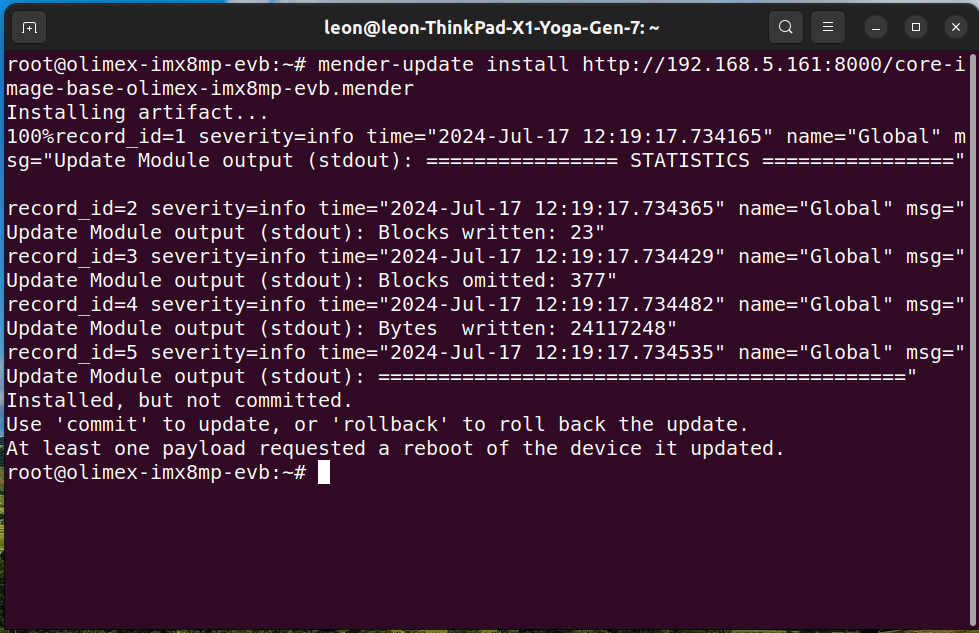
- Login as
rooton Olimex iMX8MP-SOM-4GB-IND and iMX8MP-SOM-EVB-IND and install the Mender Artifact to perform an upgrade of the device:
mender-update install http://<server>:8000/core-image-base-olimex-imx8mp-evb.mender
NOTE: Replace <server> with the IP address of the machine on which the Python3 HTTP server is running.
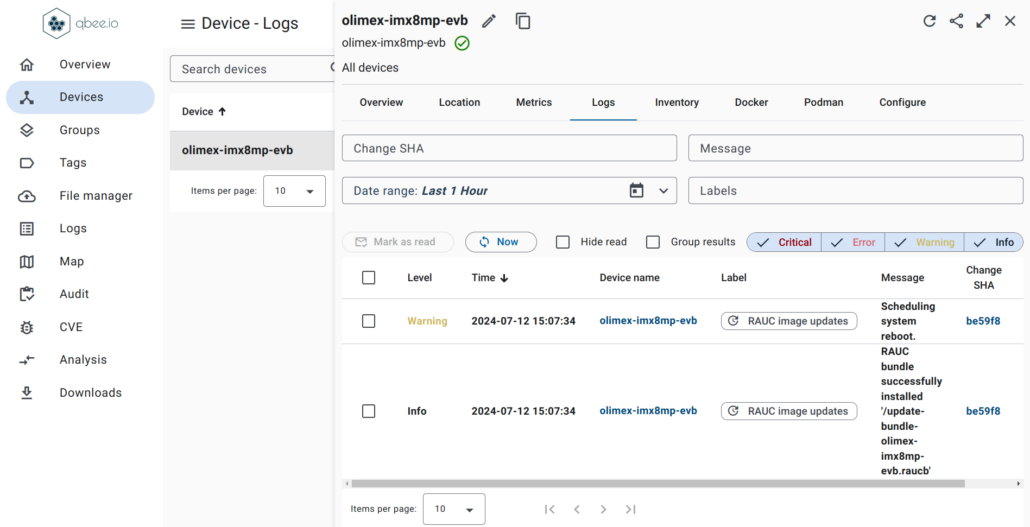
- Reboot the embedded Linux device:
reboot
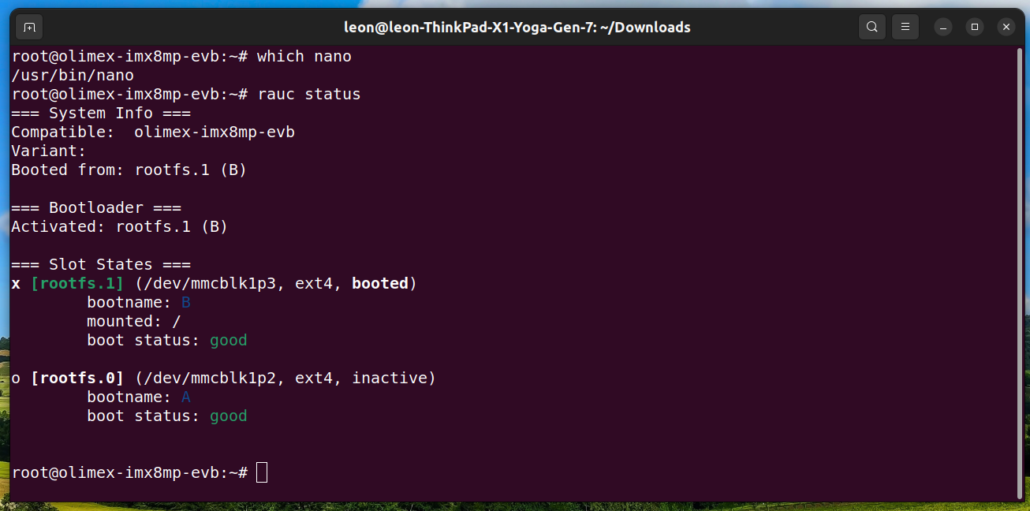
- Login as
rooton the board and verify thatnanotext editor has been installed. - Ensure the new deployment becomes permanent:
mender-update commit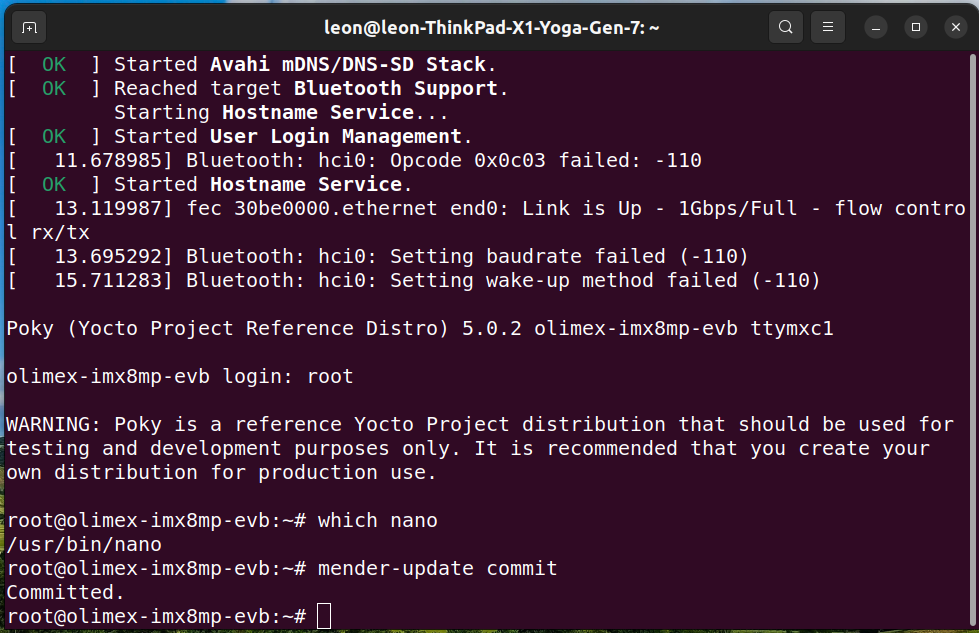
This example illustrates the seamless integration of Mender using the Yocto Project release Scarthgap on an embedded computer powered by the NXP i.MX8MP SoC. It demonstrates how you can effectively manage updates across fleets of devices using the Mender server. Furthermore, Mender also provides additional tools for remote troubleshooting, ensuring smooth operations in the field.
How do Mender.io and RAUC differ?
The Mender client is an application that runs on embedded devices. In a production setup, it connects to the Mender server to perform automatic updates by downloading and installing Mender Artifacts as they become available. Initially, the Mender client was developed in Go. However, a strategic decision was made to rewrite it in C++ to reduce the application’s footprint and support more platforms, including real-time operating systems (RTOS).
In comparison, RAUC, the alternative A/B open-source solution explored in part one, also has an application running on the embedded Linux device, but it is written in C. Unlike Mender, RAUC does not provide a server to manage devices, so a third-party solution such as qbee.io or Eclipse hawkBit is required.
Another notable technical difference is that RAUC integration through meta-rauc-nxp relies on a wks file where the A and B partitions are explicitly specified. In contrast, meta-mender-nxp uses classes and special variables provided by Mender to define those partitions, and BitBake generates a temporary wks file while building Mender-enabled images.
In terms of security, both Mender and RAUC support signing and verification of updates. Mender supports signing artifacts using RSA with a recommended key length of at least 3072 bits or ECDSA with curve P-256. RAUC employs X.509 cryptography for signing and verifying update bundles.
Leveraging the insights and experiences discussed in parts 1 and 2 of this article, here is a side-by-side comparison of the key features of Mender and RAUC:
| Feature | Mender | RAUC |
|---|---|---|
| A/B updates | Yes | Yes |
| Roll-back | Yes | Yes |
| Configure add-on | Available | No |
| Monitor add-on | Available | No |
| Troubleshoot add-on | Available | No |
| Client implementation | C++ | C |
| Client license | Apache 2.0 | LGPL-2.1 |
| Yocto Project integration | Yes | Yes |
| Management server | Yes | 3rd-party |
Mender.io provides a comprehensive, turnkey solution that covers everything from embedded devices to cloud-based software-as-a-service for managing fleets of connected devices. It also offers convenient add-ons and proprietary delta updates. Meanwhile, RAUC reliably integrates seamlessly with both in-house and third-party device management systems. The choice of update technology should be based on your specific requirements and use cases.
About Konsulko Group
Over the years, Konsulko engineers have made significant contributions to the community and crucial embedded Linux open-source projects, including the Yocto Project, OpenEmbedded, the Linux kernel, and U-Boot. We specialize in assisting customers in developing commercial products leveraging these technologies. With expertise in BSP bring-up on diverse hardware platforms for embedded devices, our services encompass a wide range of open-source solutions for software updates. Contact us to discuss the best update strategy and technology for your embedded product requirements.