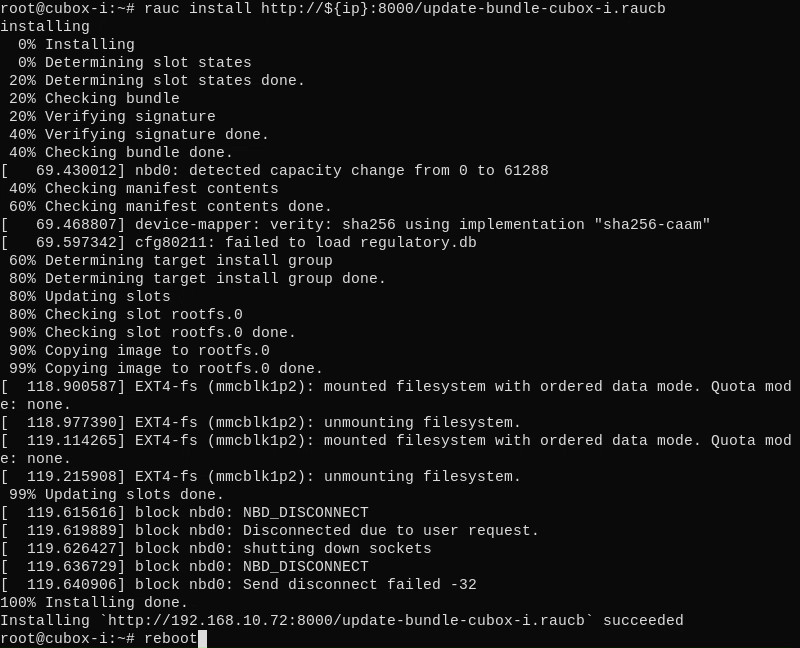
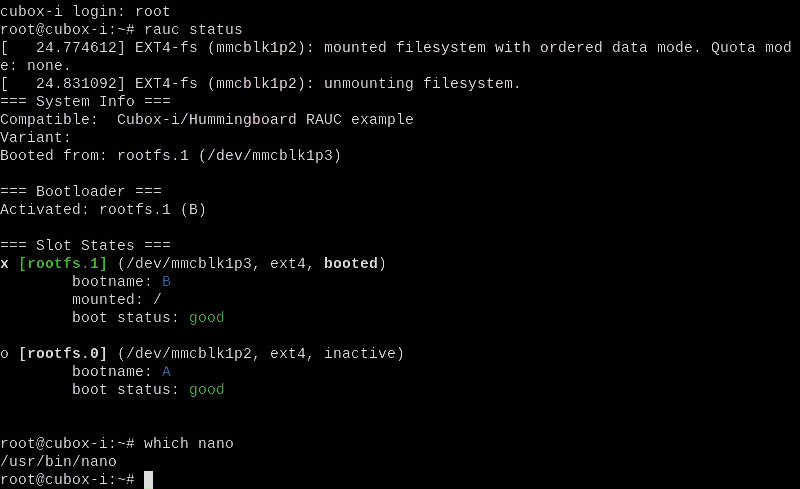
In November, Konsulko Group Principal Software Engineer Denys Dmytriyenko attended The Linux Plumbers Conference (LPC), a developer conference for the open source community, held this year in Richmond, Virginia. Here is his report on the highlights of the conference.
LPC brings together the top developers working on the “plumbing” of Linux – kernel subsystems, core libraries, windowing systems, etc. – and gives them three days to work together on core design problems. The conference is divided into several working sessions focusing on different “plumbing” topics, as well as a general paper track.
Usually there are several main tracks and many Microconferences all fit into 3 days. And this year the list included Refereed Track, Kernel Summit, Toolchains Track and BoF. As well as Microconferences on Kernel Testing & Dependability, Real-time and Scheduling, RISC-V, Compute Express Link, Containers and Checkpoint/Restore, Android, Build Systems, Linux Kernel Debugging, KVM, Confidential Computing, Power Management and Thermal Control, Tracing, VFIO/IOMMU/PCI, Live Patching, Rust and Internet of Things.
Due to the number of parallel tracks and Microconferences with a high number of interesting topics, it’s quite impossible to attend all the talks one would like.
Here are just a few that I was able to attend.
Resolve and standardize early access to hardware for automotive industry with Linux
Khasim Syed Mohammed, Texas Instruments
SoC manufacturers are adopting heterogeneous architectures, using MCU cores for safety-critical tasks with RTOS and MPU running Linux for general purpose. Key use cases in the automotive industry, such as quick boot times, early display response, and predictable access to hardware, pose challenges for Linux-based systems. The current solutions of employing heterogeneous processors lack scalability, standardization, and Linux friendliness.
Khasim explored the specific challenges faced by the automotive industry and the existing solutions, addressing the standardization of “Linux late attach” with heterogeneous SoCs. He invited collaboration between automotive OEMs, SoC manufacturers, and Linux kernel/user space maintainers to establish “Linux automotive” standards, enhance the Linux kernel and drivers to meet performance requirements.
Securing build platforms
Joshua Lock, Verizon
Historically, Open Source Software was always built on trust – you trusted the sources, the recipe, the builder to produce the resulting artifacts for a given distro that many use. But with a growing number of attacks on the software supply chain, securing build platforms and providing a verifiable way to link packages back to their sources, as well as specific build instructions used to package and publish them, is becoming very important these days.
Joshua listed several of the big and famous recent supply chain attacks and talked about build provenance being adopted by different players in this field to battle such attacks. He then delved into adoption of the Supply-chain Levels for Software Artifacts, or SLSA (“salsa”) architecture in the Yocto Project and its Autobuilder CI framework – generating provenance during the build as L1 level requirement and signing said provenance at L2 level. While this definitely helps with detecting such attacks, fully securing the software supply chain needs more work.
Improving UAPI Compatibility Review with Automated Tooling
John Moon, Qualcomm
Preserving Linux Userspace API (UAPI) compatibility has been crucial for enabling smooth kernel upgrades without breaking userspace programs. Traditionally, kernel devs relied on code review and testing to catch UAPI-breaking changes.
John showed a new tool they developed at Qualcomm that uses libabigail, letting developers analyze patches for UAPI issues before executing them. This tool could integrate into build systems like OpenEmbedded and the Yocto Project, providing immediate feedback and solidifying the kernel’s UAPI stability policy.
The talk also delved into other interfaces like sysfs and module parameters. However, since libabigail can’t analyze these interfaces directly due to the lack of a clean C API, a couple proposals were presented and sparked a lively discussion with Greg KH and other attendees.
kernel: build system outputs and workflows (and how to balance them)
Bruce Ashfield, AMD
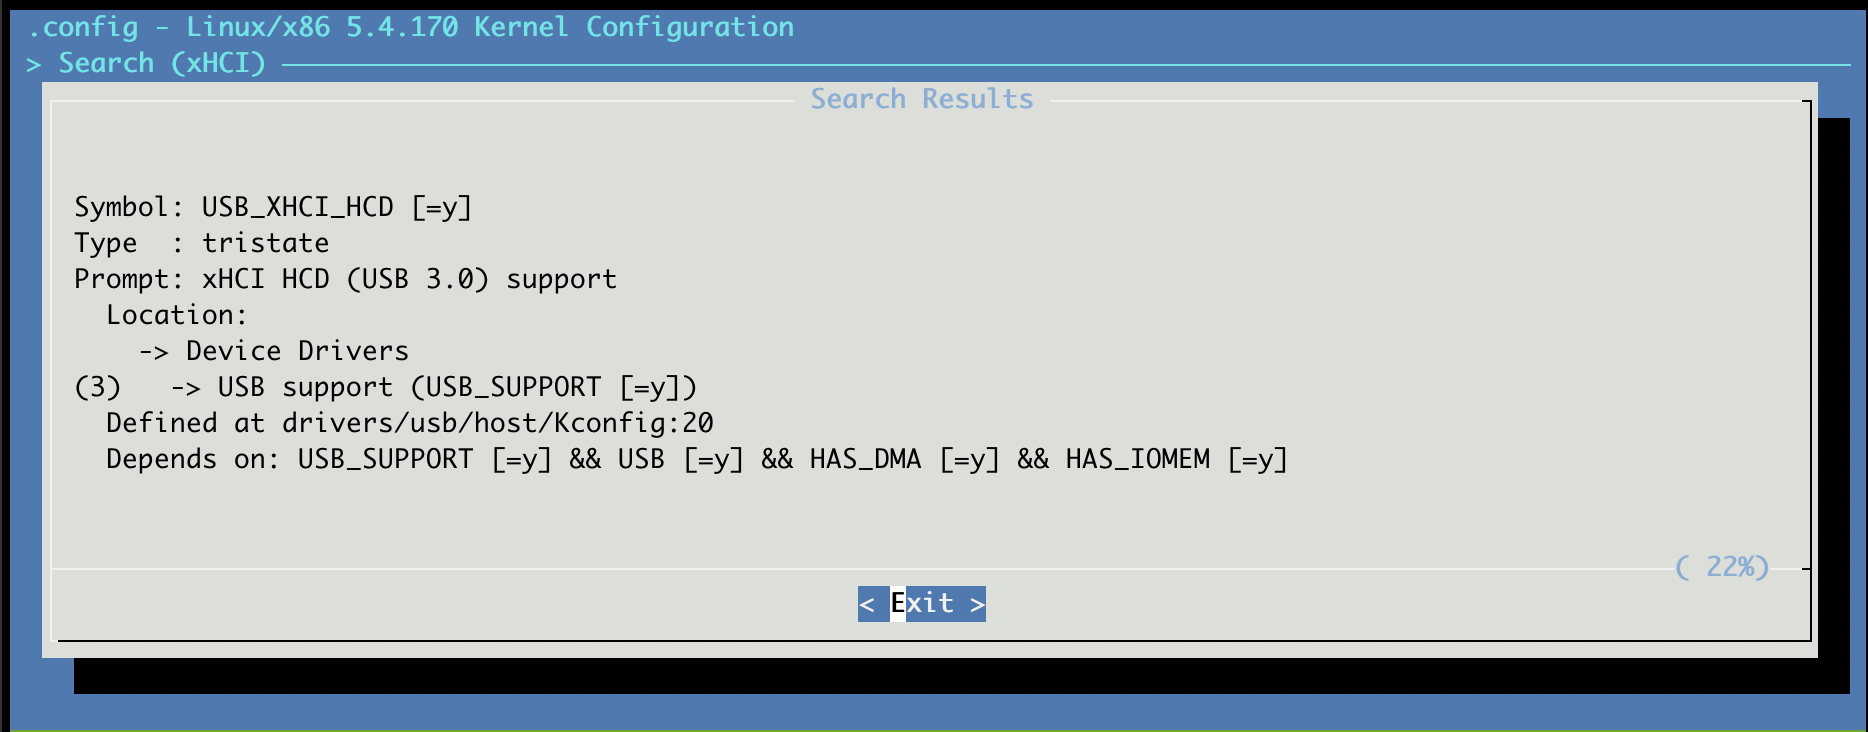
Bruce talked about all the complexities around maintaining and building the Linux kernel in OpenEmbedded and the Yocto Project. All the various inputs, such as vendor BSPs vs. upstream mainline kernel, latest version vs. LTS, different patches, configurations, policies, etc. It gets complicated by additional product requirements, like reproducibility, flexibility, maintenance and support, build speed and so on. And the variety of output end results only adds overhead, when one has to deal with kernel images, modules, DTBs, firmware images, binary packages, debug information, licensing, SBoM manifests, CVE reports, boot components, containers and VMs, SDKs, libc headers, etc. It also differs a bit based on the persona or workflow of one’s building the kernel – developer (kernel vs. userspace), integrator, distributor, contributor or a release engineer.
Trying to keep everyone happy at the same time is almost impossible. Still, linux-yocto, the reference kernel in OpenEmbedded-Core, tries to cover most of the bases and solve as many of the outlined challenges. Bruce talked a bit more about how he maintains linux-yocto, how things are improving over time, where we are heading and opened the floor to discussion.
How big of a problem are Un-upstreamed patches?
Jon Mason, ARM
Build Systems and Distros accumulate local changes against individual components in the form of patches that either fix newly found issues or customize component’s behavior to suit their own requirements. How should those patches be handled and what to do with them? Upstreaming them to be integrated into the future releases of corresponding components is, of course, the best approach. What if it’s not possible or doesn’t happen for other reasons? Is there any structure or process for that? Jon looked at these problems and tried answering the questions from the perspective of the Yocto Project, Buildroot, Debian and other distros.
Building for Heterogeneous Systems
Alejandro Hernandez Samaniego, Microsoft
Heterogeneous systems are widely used in embedded products for better performance, safety, etc. While using different operating systems on various core architectures in a single device is beneficial, each OS has unique dependencies and developer workflows. To optimize development, a single build system should be able to cross-compile different OSs for different architectures simultaneously and Bitbake offers this through its multiconfig feature. Unifying the developer workflow and enhancing the usability of features like multiconfig would significantly improve teams efforts in creating new products.
Alejandro went over examples of setting up multiconfig in the Yocto Project for building bare metal and/or RTOS components along with the general purpose LInux system and integrating final results into a single filesystem image. At the end we discussed some of the remaining challenges and open defects with some of the aspects of multiconfig, like separating temp directories, SDK coverage, etc.
A kernel documentation update
Jonathan Corbet, LWN.net
Jonathan provided an update on the recent changes in the Linux kernel documentation – restructuring of architecture-specific docs, new Rust documentation, added new translations, new theme for HTML-rendered pages, texinfo support, lots of new docs were added, rework of the top-level index.rst, etc. He also commented on some of the future plans, such as reworking of device-related docs, which are now spanned across 31 subdirectories, and adding more structure to the rest of areas in the documentation.
A lively debate was sparked around plain text vs. HTML and format of the docs in general, e.g. plain text is still preferred by some kernel maintainers over HTML, but adding RST markup to the input text files makes them less readable. Sphinx and tooling were then discussed, build-time improvements, support for partial builds to speed things up, etc.
Embedded Linux BoF
Tim Bird, Sony
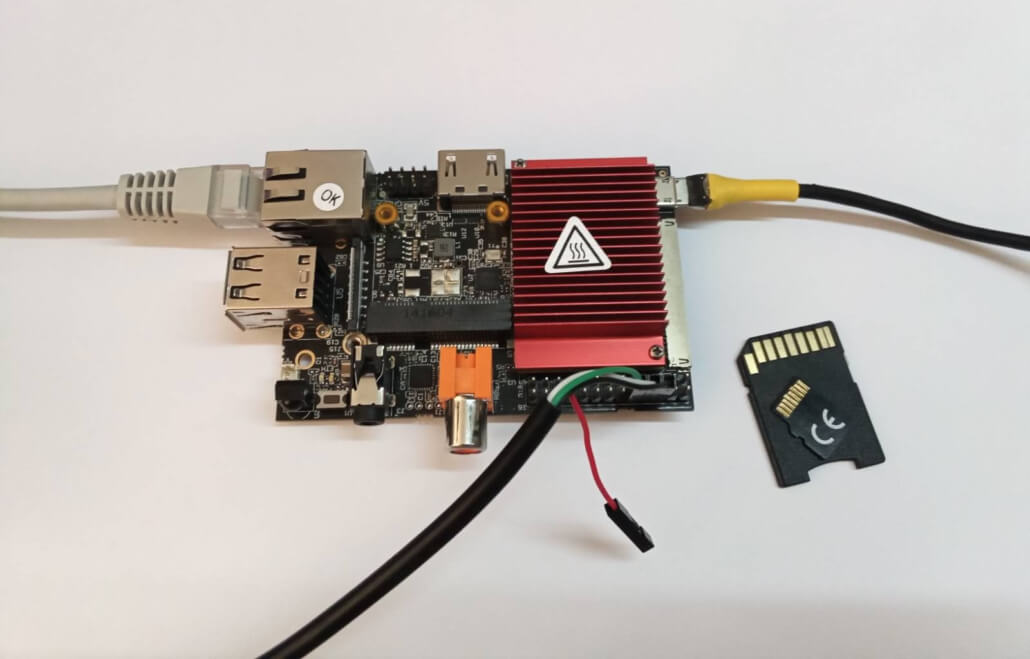
Tim led an open discussion session covering different aspects of embedded Linux, such as Architectures, Bootloaders, Boot time, Filesystems, Networking, Security, Testing, Tools, Toolchains, Tracing, System Size and Build Tools and Distros. He mentioned latest updates to U-boot, referenced earlier talk by Khasim on reducing boot time by offloading some tasks to MCUs and deferring non-critical device probing to later time in user-space.
For size reduction he listed removal of SLOB and planned removal of SLAB. But as Arnd Bergmann, kernel developer and arm-soc tree maintainer commented, system size may no longer be relevant, as memory becomes cheaper and ARM manufacturers actively switching from 32-bit to 64-bit solutions, while small footprint systems are relegated to Zephyr. On the other hand, nolibc allows building very small statically-linked binaries for Linux.
Finishing up with closing remarks about the Embedded Linux Community with shoutouts for mailing lists, different Organizations and Projects operating in this field, popular upcoming events and the state of eLinux wiki losing its funding soon.
Zephyr Retro-and-Prospective: Project Growth, Long Term Support, and Linux Interoperability
Chris Friedt, Meta
Chris’ lightning talk quickly went over Zephyr’s brief, but very rich and rapidly-changing history. Added new architectures, 64-bit support, new protocols, new boards, Device Tree API, TF-M, LLVM and other toolchains, Power Management, USB-C/PD, DSP subsystem and many more features and improvements. Many bugs were fixed, new maintainers and contributors joined. All in all Zephyr enjoyed tremendous growth in recent years.
Challenges in Device Tree Sync – kernel, Zephyr, U-boot, System DT
Nishanth Menon, Texas Instruments
These days Device Tree is commonly used to describe the hardware in different ecosystems, such as Linux kernel, U-boot and Zephyr. But each ecosystem has its own goals and limitations and along with limited standardization of Device Tree description of hardware that results in very different user/developer experiences and challenges keeping them in sync.
With a BeaglePlay board using TI AM625 heterogeneous SoC, Nishanth was hoping to blink one LED from A53 core running Linux and blink another LED from M4F core running Zephyr, all described by the same Device Tree. But it wasn’t as simple – he showed examples of different Device Trees describing the same hardware from the perspective of Linux kernel, U-boot bootloader and Zephyr RTOS. The Linux kernel has A53-centric view, while U-boot also focuses on R5F core taking care of the initial boot, along with binman and bootph specifics, where Zephyr diverges from both of them due to its focus on performance and resource constraints, utilizing C headers generated from the Device Tree.
There are some other differences between ecosystems using Device Tree, such as licensing, bindings, firmware usage and tooling. But one of the proposed solutions to unify the above inconsistencies was a lopper tool and the use of a common/canonical System Device Tree with personality overlays that produces required device-specific views.